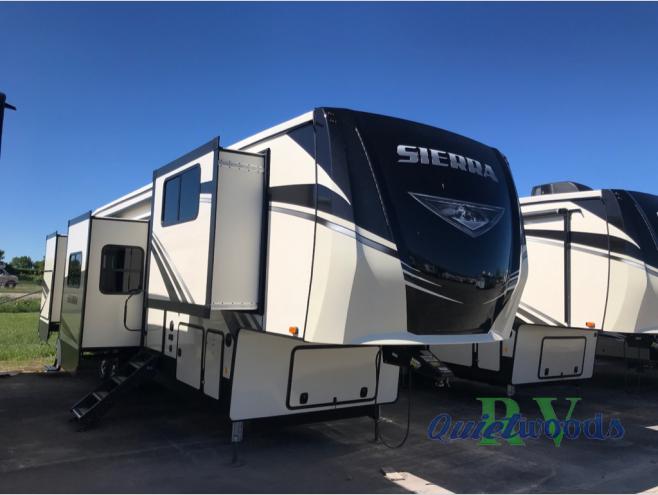
The cold weather is finally starting to roll in, which means it’s time to winterize your RV. If you’re new to RV ownership, then this may be new territory for you, but RV winterization is vital to keeping your fifth wheel, motorhome, or travel trailer safe through the winter. You can schedule an RV winterization appointment with our RV service bay at Quietwoods RV or follow these easy RV tips for a DIY winterization solution.

Supplies
Before you can begin winterizing your RV, you’ll need to grab a few supplies. Find what you need at Quietwoods RV in our parts department.
- 2-3 gallons of RV Anti-Freeze (may need more depending on trailer)
- Paper towel or rags
- Hose w/fitting on end for water pump (if you choose to use this method)
- 7/8 or 1-1/16 wrench – to drain water heater
- Pliers – to remove line going to water tank for pump
Instructions
It’s important to read and understand all of the instructions before beginning your RV winterization. If you don’t feel comfortable with the DIY winterization or you think that you’ve forgotten a step or done something incorrectly, call your dealer right away. Your RV must be properly winterized so that it won’t experience damage to the plumbing during the freezing weather.
- Turn the water off.
- Open the pressure relief valve.
- Remove the water heater plug from the outside on the water heater.
- Close the pressure valve and reinstall the plug when all the water is out.
- Close by-pass valve.
- If you have one (1) valve – turn the valve straight up. If you have three (3) valves – close the top and bottom valve and open the center valve.
- Blow out the lines at 35 P.S.I. using a compressor through the city water connection.
- Open one faucet at a time and run the water until empty. Repeat at all faucets, showerheads, and flush the toilets.
- Remove water filter from canister – if you have one – dump the water out and replace the canister.
- Pump anti-freeze through city water connect, or suction side of the freshwater pump, until pink comes out. Do this by running one (1) faucet at a time, first your cold line, then your hot line. Repeat on all faucets inside/outside of your trailer.
- Repeat the process if you have a washer and dryer or an ice maker.
- Open the low point drains until the anti-freeze comes out.
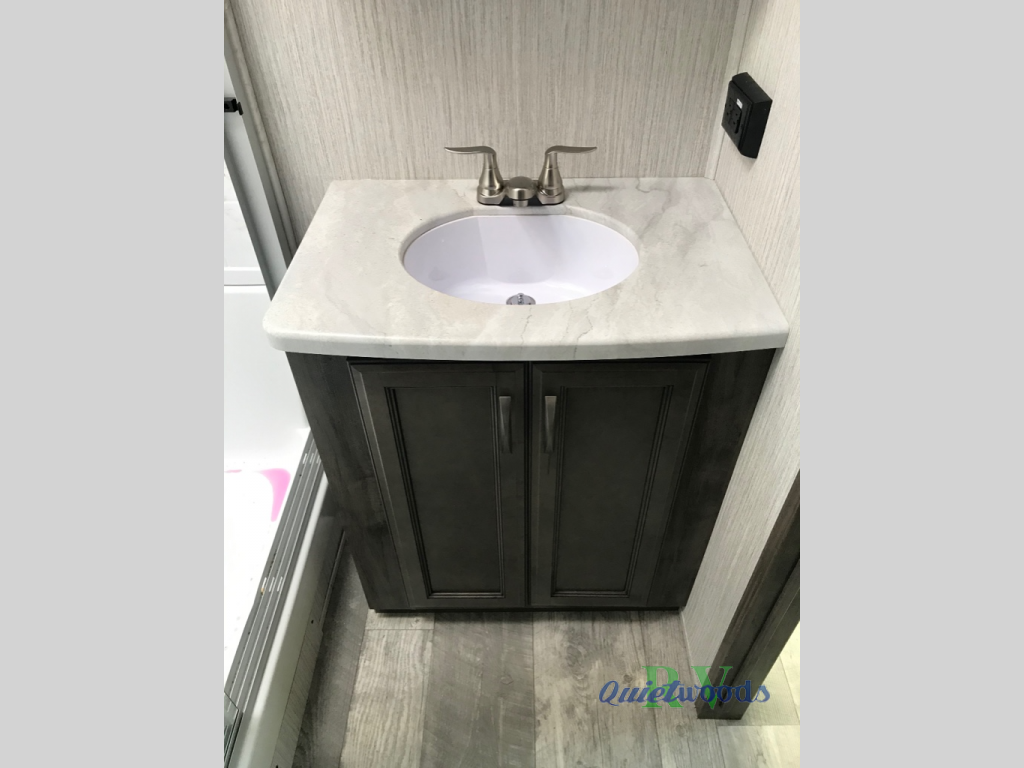
- Pour approximately 2 cups of anti-freeze down the drains of each sink ,including the bathtub/shower.
- Drain the fresh water tank.
- Wipe off anti-freeze from sinks/tub to avoid any stains.
- Clean slide outs off and run them in be sure they seal tightly.
- Prop fridge open to avoid mold.

RV Services
The process of winterizing your RV may be a big job, but with a little patience and elbow-grease, you can get it done. If you’re not feeling up to the task, call our RV service department and schedule your appointment today.
Contact us if you have any questions about winterizing your RV or if you need parts and repairs.

